
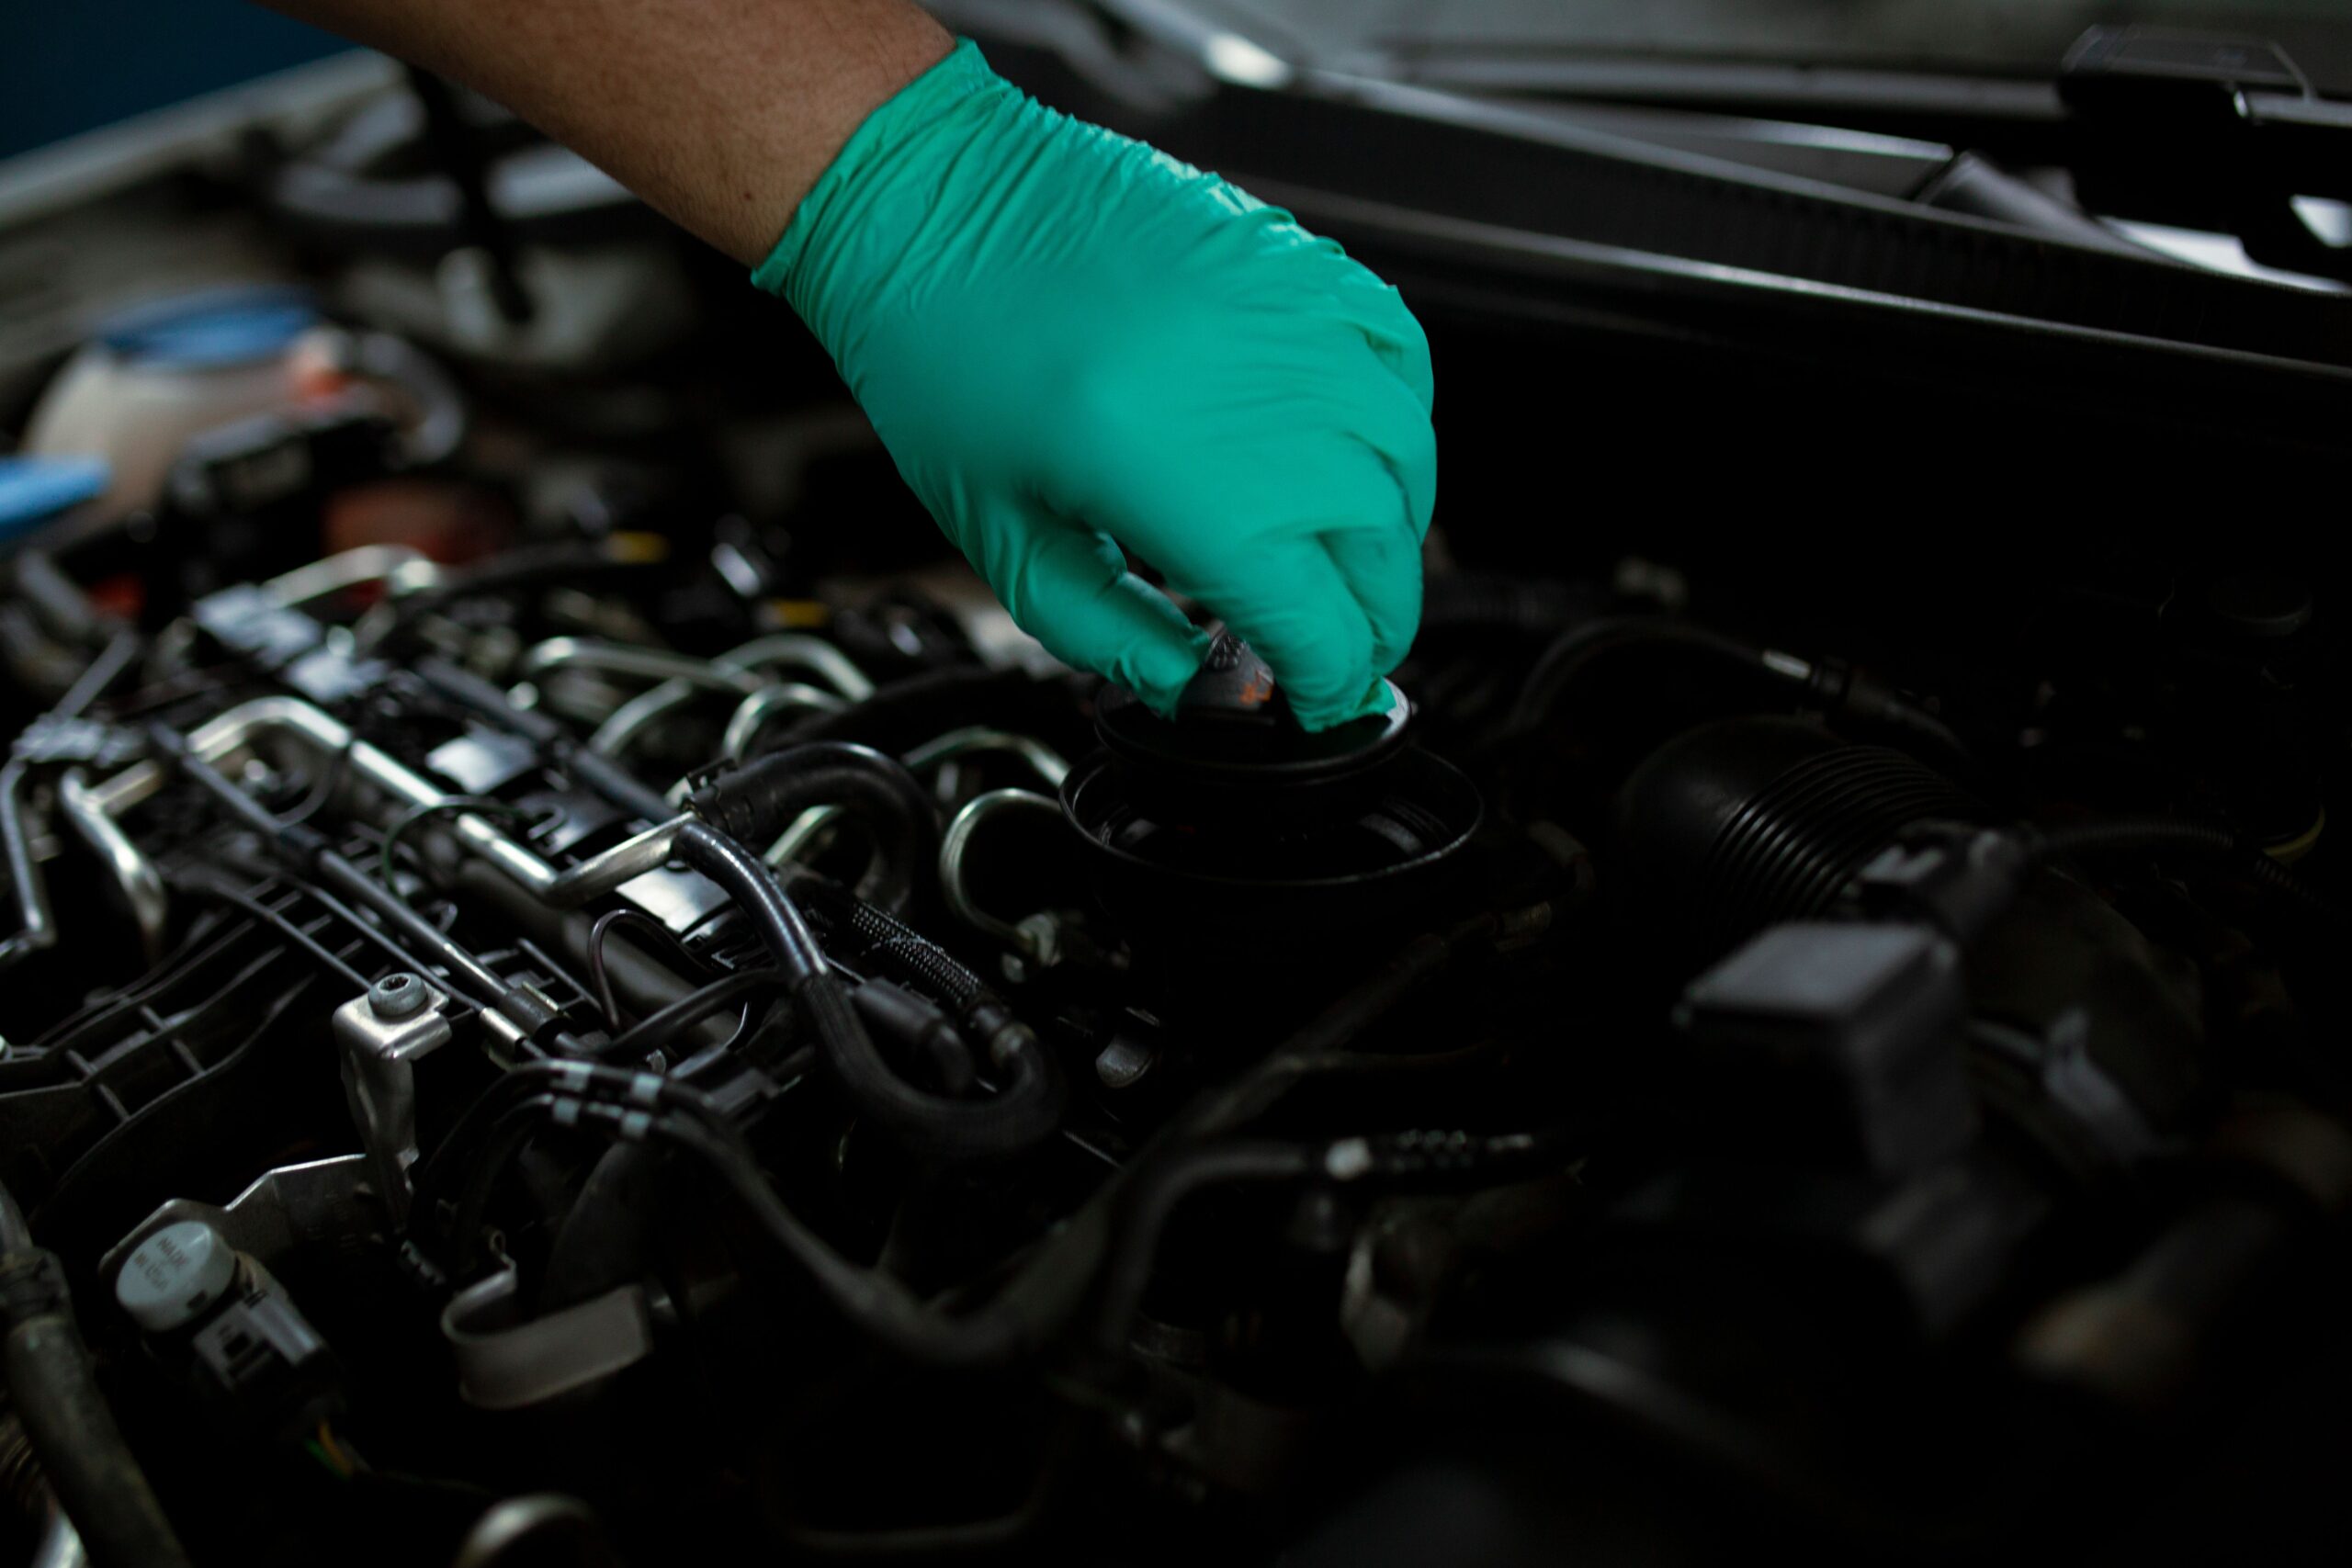
Checking your engine oil is the highest-value five minutes of car maintenance there is: it costs nothing, needs no tools, and catches expensive problems — low oil, a leak, a failing head gasket — long before a warning light or a tow truck does. Modern cars can go a long way between changes, but the dipstick still tells you things the maintenance-minder can’t. Here’s how to check engine oil level and condition properly, and exactly what the color, texture, and smell are trying to tell you.
Before You Start
- Park on level ground — even a slight slope skews the reading.
- Engine off, and cold or rested 10–15 minutes. Checking right after driving reads falsely low, because oil is still up in the engine draining back to the pan. (A few manufacturers — some BMWs, others — specify checking warm; if yours does, follow it, but “cold and rested” is the safe default for most cars.)
- Have a clean rag or paper towel ready.
Step 1: Find the Dipstick
Pop the hood and look for a brightly colored loop handle — usually yellow or orange — marked with an oil-can icon, typically toward the front or side of the engine. Don’t confuse it with the transmission dipstick (where present) or the oil fill cap on top of the valve cover. If you can’t find it, check the owner’s manual: a growing number of newer cars have deleted the dipstick entirely in favor of an electronic oil-level sensor that reads out on the dashboard — if that’s your car, the “check” is a menu, not a stick.
Step 2: Pull, Wipe, Reinsert, Pull Again
- Pull the dipstick all the way out.
- Wipe it clean — the first reading is smeared from the stick sitting in the tube and is never accurate.
- Push it fully back in and make sure it’s seated all the way.
- Pull it out again and read it immediately, holding it horizontally so oil doesn’t run and blur the line.
Step 3: Check the Engine Oil Level
Near the tip you’ll see two marks, two holes, or a crosshatched zone — that’s the acceptable range, low mark meaning “add soon,” high mark meaning “full.” The oil film should sit between them.
- At or near the high mark: you’re good, nothing to do.
- Below the low mark: add oil in the grade your owner’s manual specifies, a little at a time — the gap between low and high is often only about a quart, so don’t dump a whole one in and overfill.
- Overfilled (above high): not harmless — too much oil can foam as the crankshaft whips it, hurting lubrication and pressure. If it’s well over, have some drained.
- Chronically low or needing frequent top-offs: the engine is leaking or burning oil. A car that quietly uses a quart every 1,000 miles has a problem worth diagnosing.
Step 4: Read the Condition — Where the Real Information Is
Level tells you how much; condition tells you what’s happening inside the engine. Rub a drop between your fingers and look:
- Amber to light brown, smooth: healthy oil.
- Dark brown to black: oil darkens normally as it does its job and holds combustion byproducts in suspension — dark alone isn’t an emergency, but dark plus lots of miles since the last change means you’re due.
- Milky, frothy, “coffee with cream”: coolant is mixing into the oil, often a failing head gasket. Stop driving and get it checked — running an engine on this can destroy it.
- Gritty or with metal flecks that sparkle in light: internal wear shedding metal. Get it inspected before it becomes a rebuild.
- Smells strongly of gasoline or reads high and thin: fuel is diluting the oil (common on short-trip and some direct-injection engines) — worth a mechanic’s look if it’s pronounced.
How Often to Check
Once a month, and always before a long road trip, is a sensible habit for most daily drivers. Older engines and any car known to use a little oil between changes deserve a look every couple of weeks or every other fill-up. It takes less time than pumping the gas you’re already stopped for, and pairs naturally with a brake fluid check and a glance at your wiper blades — the three two-minute checks that head off expensive surprises.
Checking Isn’t Changing
A level-and-condition check catches problems between oil changes — it doesn’t replace them. Stick to your owner’s manual interval (commonly 5,000–7,500 miles for conventional oil, often 7,500–10,000+ for full synthetic), and don’t dismiss the oil-change reminder just because the dipstick still looks okay: oil degrades chemically in ways the eye can’t see. For background on oil grades and standards, the American Petroleum Institute is the authority — the “starburst” and “donut” symbols on the bottle tell you it meets current specs.
Recommended Gear
If you’re topping off or doing a full change yourself, these make the job cleaner:
- Full synthetic motor oil — match the weight and spec in your owner’s manual
- Automotive funnel set — no oil running down the side of the engine
- Mechanic shop rags — for a clean dipstick read every time
- Nitrile gloves — keeps used oil (a known irritant) off your skin
As an Amazon Associate, Infinity City earns from qualifying purchases.