
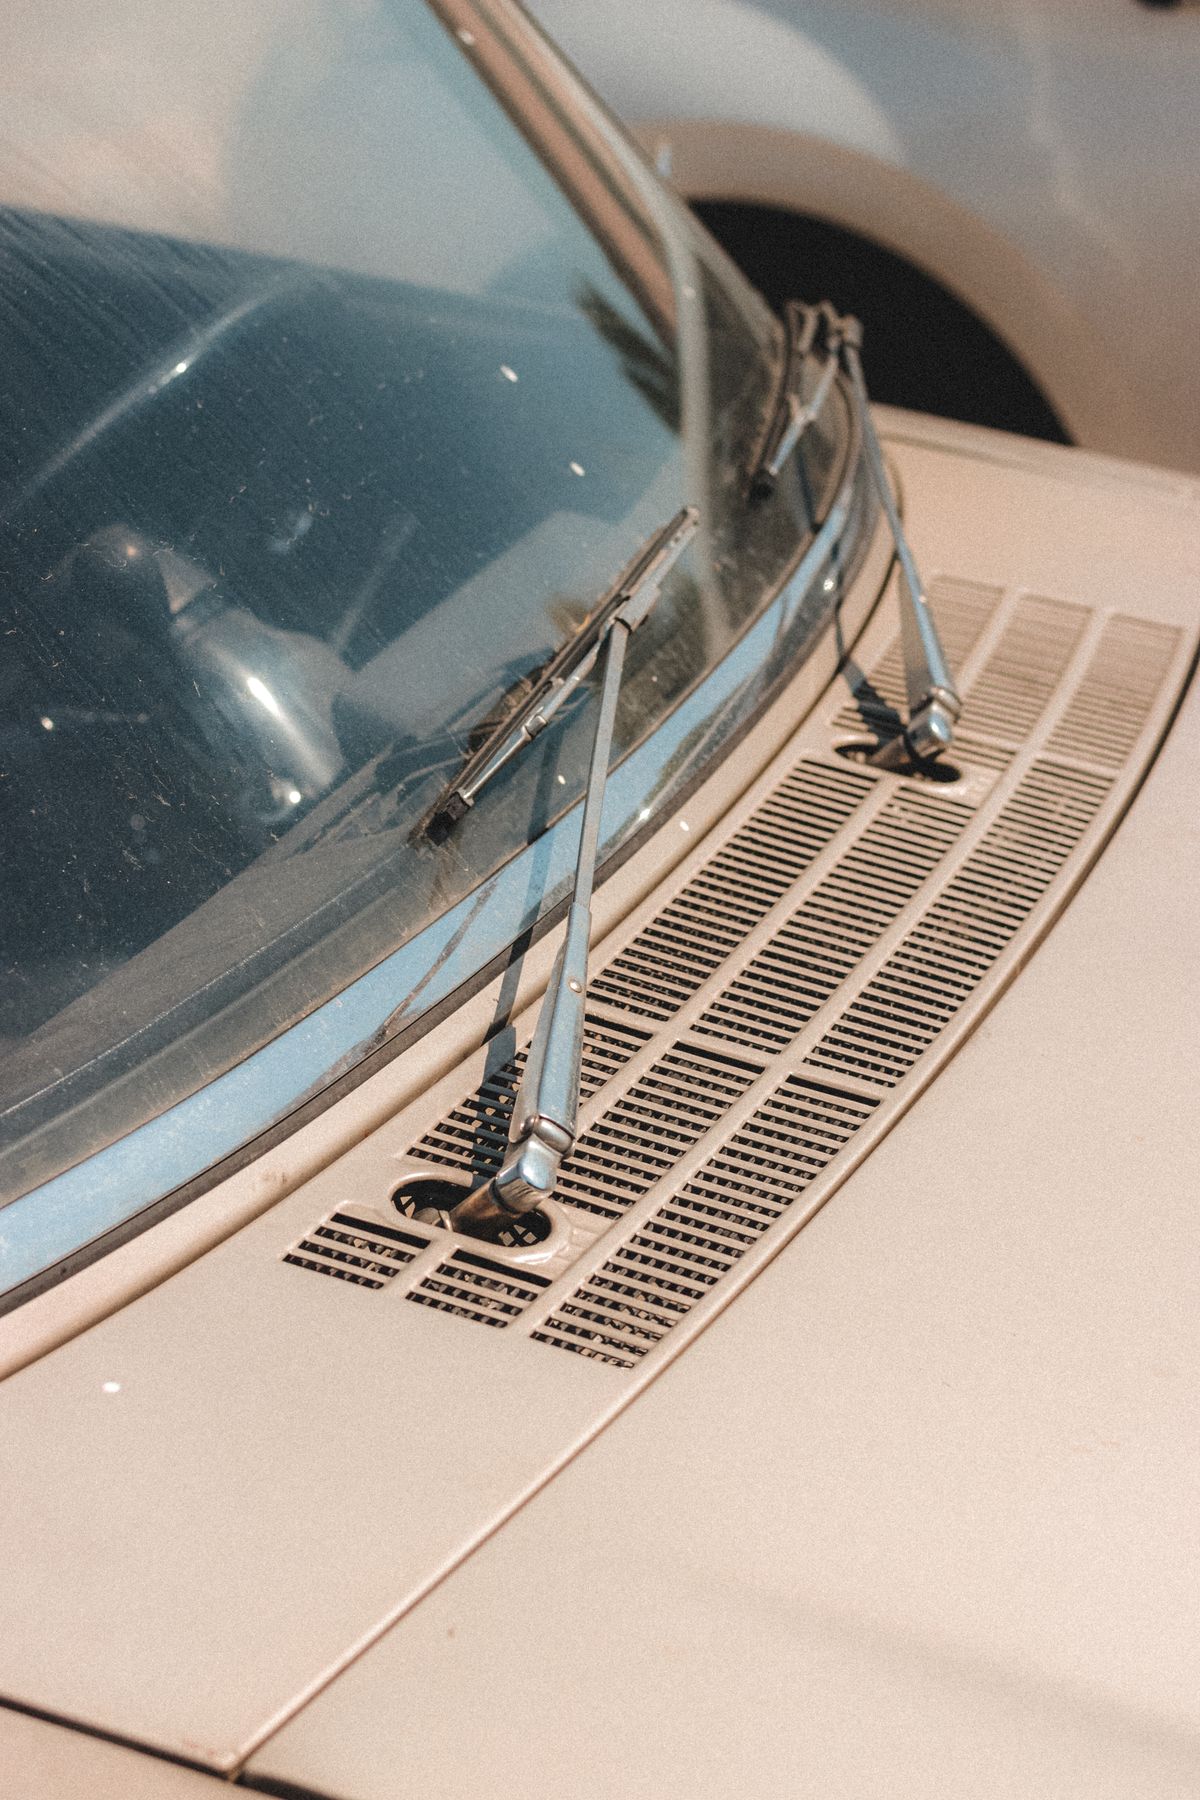
Streaking, skipping, or squeaking wipers aren’t just annoying — they’re a visibility problem waiting to happen the next time it rains hard on the highway. The good news: this is the single easiest maintenance job on any car. Here’s how to replace wiper blades in about five minutes with no tools, plus the parts of the job nobody explains — picking the right blade type for your climate, decoding the attachment styles, and making the new set last twice as long.
Signs Your Wiper Blades Need Replacing
- Streaking or hazy smearing across the glass
- Skipping or chattering instead of a smooth sweep
- Squeaking even on a wet windshield
- Visible cracking, splitting, or a curled rubber edge
- Bare metal frame showing through worn rubber — replace immediately, before it scratches the glass
Most blades last 6–12 months. Climate decides which end of that range you get: intense sun bakes the rubber hard and brittle, while freezing winters tear it against ice. If you can’t remember the last time you changed them, that’s usually your answer. For broader upkeep scheduling, AAA’s vehicle maintenance guidance is a solid reference.
Pick the Right Type: Beam vs. Conventional vs. Hybrid
The blade aisle offers three designs, and the difference is real:
- Conventional (bracket) blades — the classic metal frame with pressure points. Cheapest, work fine in mild climates, but the exposed frame packs with snow and the discrete pressure points wear the rubber unevenly on curved windshields.
- Beam blades — a single curved spring-steel spine with no external frame. Even pressure across the full blade, nothing for ice to clog, better performance at highway speed. They cost a few dollars more and are worth it almost everywhere; if you get real winter, they’re not optional.
- Hybrid blades — a conventional frame wearing an aerodynamic shell. Splits the difference on price and winter resistance; common as OEM equipment on Japanese makes.
Sizing: your driver and passenger blades are usually different lengths — sometimes by a lot. Check the owner’s manual, the in-store fitment book, or just measure the old blades tip to tip. Getting the driver’s side a size too long is the classic mistake, and it’ll slap the trim or the other blade mid-sweep.
Know Your Attachment: The 30-Second Version
Nearly every car uses one of a few connector styles, and the blade package lists which ones it includes adapters for. The J-hook is the overwhelming majority — a curved hook on the arm that the blade clicks into. Pin-type arms end in a small side pin, and bayonet/pinch-tab styles slide straight in and lock. European makes are the most likely to use something exotic. If your new blade’s adapter set matches your arm (it almost certainly does), the whole job is the five minutes advertised.
How to Replace Wiper Blades, Step by Step
- Lift the wiper arm away from the windshield until it locks upright. On some cars the wipers park under the hood lip — turn the ignition on and off with the wiper stalk held down (or check the manual for “service position”) to make them stand up first.
- Lay a towel on the glass under the arm. If the arm snaps down onto bare glass while you’re working, it can crack the windshield — the towel is your insurance.
- Release the old blade. Find the small tab or button where blade meets arm, press it, and slide the blade down and off the hook. It sometimes takes a firm wiggle after years of grime.
- Click on the new blade. Slide it onto the hook (or pin) until it audibly clicks, then give it a tug to confirm it’s locked. An unlatched blade will fly off in the first storm — the tug test matters.
- Lower the arm gently, repeat for the passenger side and the rear wiper if you have one (rear blades often use a smaller, different connector — check before you shop).
- Test with washer fluid and confirm a clean, even sweep across the full glass at both speeds.
Still Streaking With New Blades?
If a fresh set still streaks, the blade usually isn’t the problem:
- Road film on the glass. Months of traffic grime, wax overspray, and exhaust residue create an invisible layer that fresh rubber just smears around. Clean the windshield with a dedicated automotive glass cleaner — twice — and wipe the new blade’s edge with rubbing alcohol.
- A bent wiper arm. If the blade contacts the glass at an angle instead of square, one edge drags. Compare the blade’s angle to the glass mid-sweep; an arm can be carefully re-tensioned, but it’s a body-shop-or-careful-hands job.
- Weak arm spring. High-mileage arms lose clamping pressure, which shows up as chatter at highway speed. Replacement arms are cheap and swap with one nut.
Make Them Last: 60 Seconds a Month
- Wipe the rubber edge with a damp cloth (or rubbing alcohol) monthly — grit embedded in the edge is what cuts the rubber and scratches glass.
- Never dry-scrape ice with the wipers. Defrost first, or use a scraper. Running blades over ice tears the edge in one storm. In snow country, lifting the arms overnight (or fitting winter beam blades each fall) saves a set per season.
- Keep washer fluid topped up — running wipers on a dry, dusty windshield is sandpaper for the edge. While you’re filling it, it takes two extra minutes to check your brake fluid and your engine oil — the other easy checks that prevent expensive surprises.
Recommended Gear
A few things make this job even easier and help the new blades last:
- Wiper Blades — sized for your make and model; beam-style blades hold up best in snow and ice
- Automotive Glass Cleaner — clears the road film that causes streaking even with fresh blades
- Rain-Repellent Windshield Treatment — makes water bead and roll off, reducing wiper workload in storms
- Washer Fluid Concentrate — keep the reservoir full year-round; winter formula prevents freezing in the lines
As an Amazon Associate, Infinity City earns from qualifying purchases.