
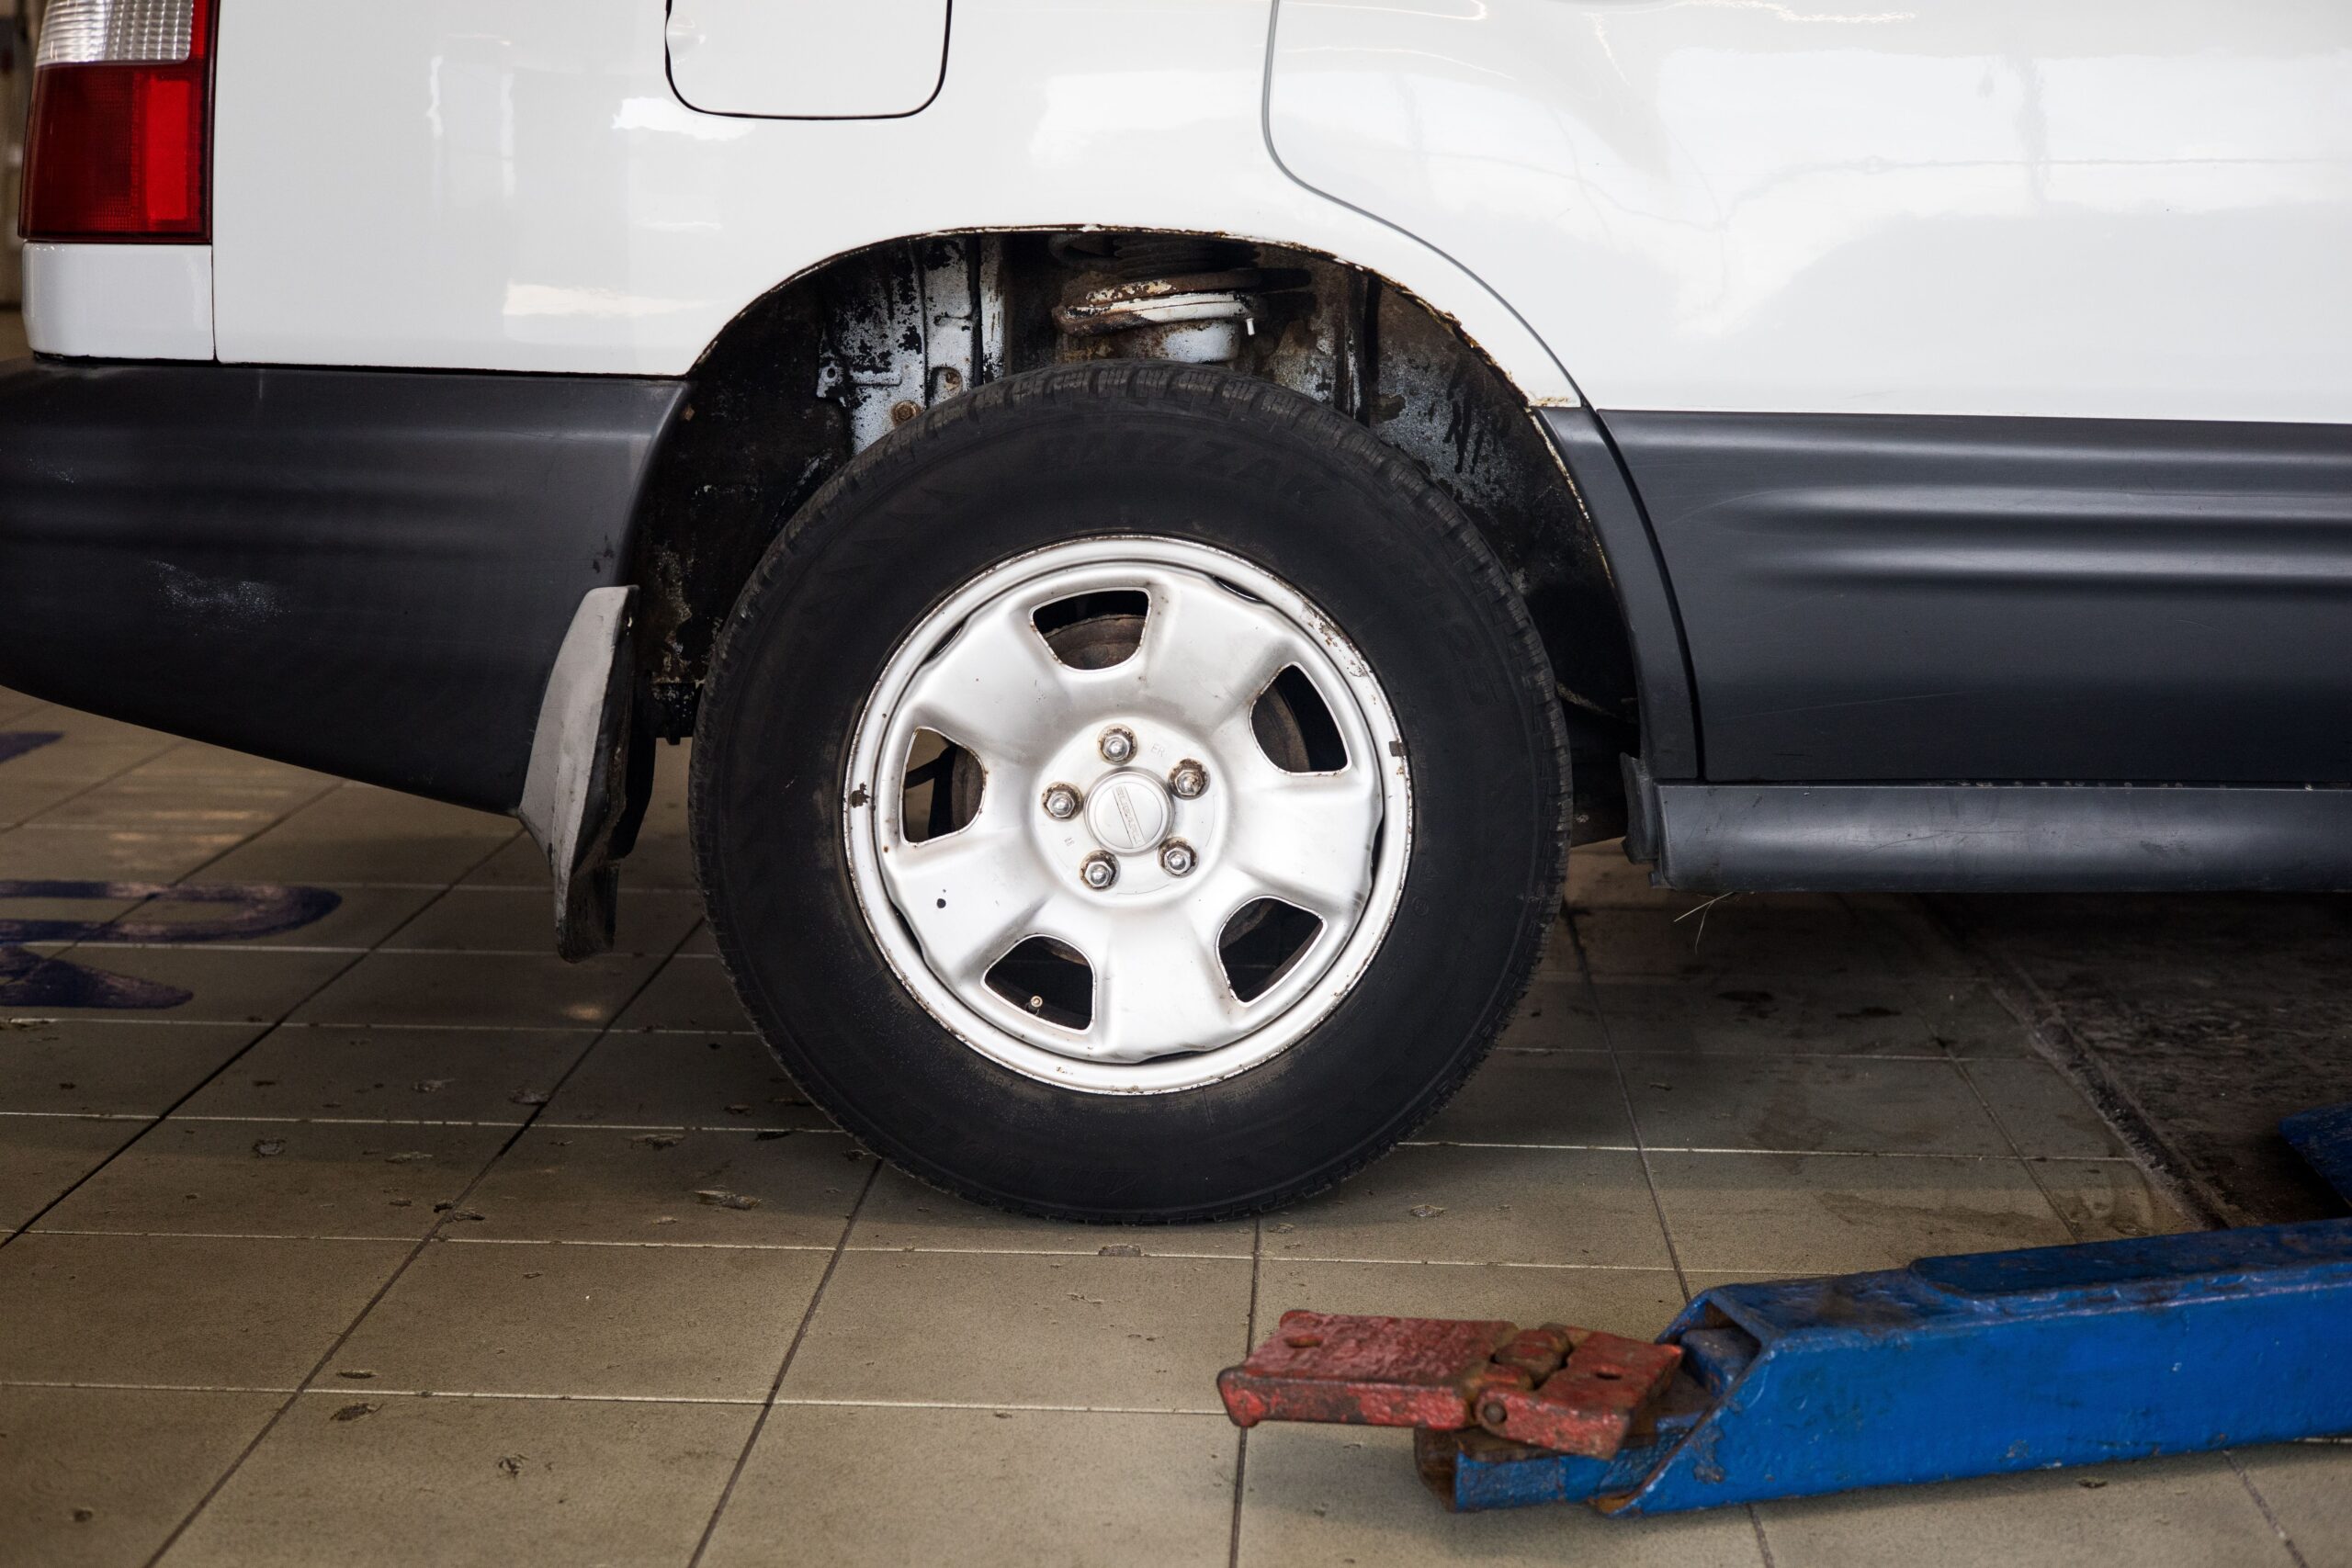
A flat tire always seems to happen at the worst possible time — dark, raining, or the one day you’re already late. The good news: changing one is a genuinely simple job you can learn in a driveway on a sunny afternoon, so that roadside version never catches you helpless. Here’s how to change a flat tire in about 20–30 minutes using only what’s already in your car, plus the safety judgment calls that matter more than the mechanics.
How to Change a Flat Tire Safely: Get Off the Road First
This is the part that actually keeps you alive, so don’t rush it. At the first sign of a flat, slow gradually and get well off the road — a wide shoulder, a parking lot, a side street, any flat and stable ground away from traffic. A ruined tire is cheap; a wheel is cheaper than a hospital bill, so keep driving at low speed to a safe spot rather than stopping in a live lane or on a narrow shoulder. Then:
- Turn on your hazard lights before you even stop.
- Set the parking brake and put an automatic in Park (a manual in gear).
- Chock a tire at the opposite corner from the flat with a wheel wedge or a large rock so the car can’t roll.
- Set out a reflective triangle or flare behind the car if you have one.
The honest safety rule: if you’re on a highway shoulder, on a blind curve, in fast traffic, or anywhere you’d have to work on the traffic side of the car, don’t. Stay behind the barrier or inside with your seatbelt on and call for help. More people are killed changing tires on highway shoulders than most drivers realize — no tire change is worth standing in traffic for.
What You’ll Need
- Spare tire — and this is the moment to note: check it’s inflated now, in your driveway, not when you need it. A flat spare is the most common way this whole plan falls apart.
- Jack — stored with the spare, usually under the trunk floor or behind a side panel
- Lug wrench — often doubles as the jack handle
- Wheel wedges or rocks, a flashlight, and gloves if you have them
- Wheel lock key, if your car has locking lug nuts — check the glovebox now; without it, you cannot change the tire, and that’s a discovery you want to make at home
Step 1: Loosen the Lug Nuts (Before Jacking)
Crack each lug nut loose about a quarter turn while the tire is still on the ground — the car’s weight holds the wheel still so you can push against the wrench without it spinning. Turn counterclockwise (“lefty-loosey”). If one’s seized, position the wrench horizontally and push down with your foot or body weight rather than yanking up — more force, more safely. Don’t remove them yet; just break them free.
Step 2: Position the Jack and Lift
Find the correct jack point — your owner’s manual shows it, and most cars have a reinforced spot on the pinch weld along the rocker panel just behind the front wheels or ahead of the rears. Jacking anywhere else can crush the floor pan or drop the car. On soft ground, put a flat board under the jack base so it doesn’t sink. Raise the car until the flat is about 6 inches clear of the ground — enough room to swap a fully inflated spare onto a deflated hub. Keep your hands and body out from under the car at all times; a jack is for lifting, never for working underneath.
Step 3: Remove the Nuts and the Flat
Spin the loosened lug nuts off by hand and put them somewhere they can’t roll away — a pocket, a cup holder, or the upturned hubcap. Grip the flat tire and pull it straight toward you off the hub, then lay it flat under the car’s frame near the jack — a crude backup so that if the jack fails, the car drops onto the tire instead of onto you.
Step 4: Mount the Spare
Lift the spare onto the hub and line the bolt holes up with the studs (or the bolt holes with the bolt pattern). Push it on flush, then thread the lug nuts back on by hand — starting them by hand prevents cross-threading, which can ruin a stud. Snug them just enough to hold the wheel. Now pull the flat back out from under the car.
Step 5: Lower and Torque in a Star Pattern
Lower the car until the spare just touches and takes light weight but isn’t fully down, then tighten the lug nuts firmly in a star / crisscross pattern (skip across to the opposite nut each time, not around the circle) so the wheel seats flat and even. Finish lowering the car completely, remove the jack, and give each nut a final firm tighten in the same star pattern with the car’s full weight down.
Step 6: The Follow-Up That Prevents a Second Emergency
- Check the spare’s pressure right away — many are compact “donut” spares that need higher pressure (often 60 psi) and are rated for ~50 mph and ~70 miles only. Know your car’s specific limit before you get near a highway.
- Re-torque after ~25–50 miles. Lug nuts can settle after a wheel is first mounted; a quick re-check with the wrench (ideally a torque wrench to spec) prevents a wheel working loose — the most common post-change failure.
- Get the flat repaired or replaced promptly. A donut is a limp-home part, not a tire. If you’re replacing it with a fresh full-size tire, remember to break it in properly, and it’s worth knowing how to read the sidewall to buy the right replacement.
When to Call for Help Instead
There’s no shame in phoning it in, and sometimes it’s the right call: lug nuts that won’t budge, a damaged or missing jack point, no spare (increasingly common on new cars — you may have a sealant kit instead), a missing wheel-lock key, or any spot that isn’t safe to work in. Roadside assistance through your insurance, your automaker’s app, many cell carriers, or a membership like AAA will send someone. If your car came with a tire-sealant kit and no spare, it’ll get a small puncture home but won’t fix a blowout or sidewall tear — that’s a tow.
Change a flat once in your own driveway, in good light, with no traffic and no clock — and the roadside version stops being intimidating. It’s a 20-minute job that only feels like an emergency the first time.
Recommended Gear
If your car didn’t come with a full kit — or you want better than the flimsy factory tools — these are worth keeping in the trunk:
- Hydraulic scissor jack kit — sturdier and much faster than most factory jacks
- 4-way lug wrench — far more leverage on stuck nuts than the factory L-wrench
- Wheel wedges / chocks — cheap insurance against rolling on any slope
- Rechargeable LED work light — vastly better than a phone flashlight at night
- Reflective warning triangles — make yourself visible to traffic while you work
As an Amazon Associate, Infinity City earns from qualifying purchases.